PHOTOGRAPHED BY MOLLY CRANNA.
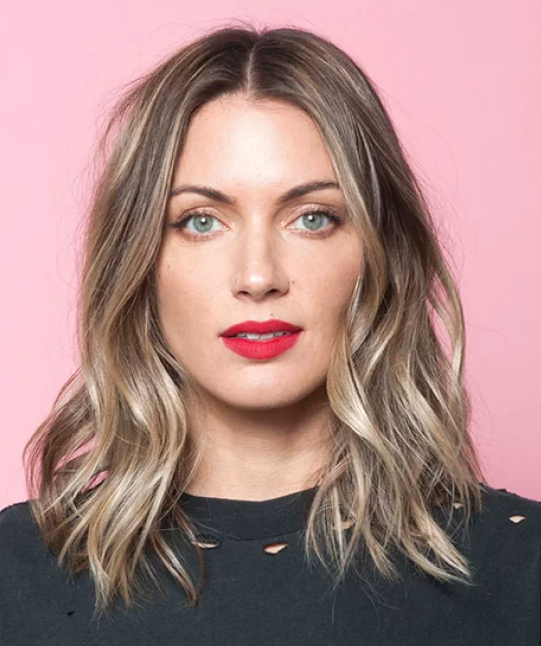
Ladies with slightly messy waves are everywhere you turn in this city. It makes sense; it's a perfect look for summer, and it practically feels like summer year-round in L.A. If there's one cut that truly epitomizes this ubiquitous style, it's the delightfully bedheady, and slightly beachy long bob made famous by one of our city's raddest hairstylists, Anh Co Tran.
You've probably seen Tran's work on Instagram, Pinterest, and pretty much all over the web. If you're like us, you've been left with one resounding question:How do I score this look at home? To find out, we spent a day with Tran at his beautiful L.A. salon, Ramirez/Tran, to learn all of the celeb stylist's favorite tips and tricks. The best part? The textured waves you'll create here can become a base for Day Two and Day Three styles that are just as appealing — without ever lathering up!
Lending her enviable head of hair for this how-to demonstration is one of the first adopters of the cut, Alaina Etue. An L.A. It Girl in her own right, as the aesthetic director for Genetic Denim, Etue is the brains behind the brand's shoots, styling, and even some of its designs.
Before we proceed with this tutorial, there's one caveat: You really do need a choppy long bob to pull off these looks. (If you're updating your 'do, ask your hairstylist to go slightly shorter in back, with a soft undercut and lots of shaggy layers.) Thick hair? Cool. Curly locks? No problem. Just follow our suggested tweaks throughout!
Bookmark this page and get your product shopping list ready, because this may just be the coolest, easiest hair routine, ever.

Day 1: Lived-In Texture
Start with clean, straight, dry hair. If you have fine, thick, curly, or coarse locks, you'll need to blow your hair out before you begin. Add in a dollop of mousse to boost volume if your hair is fine, or your go-to serum or oil for a smoother blowout on curly or coarse tresses.

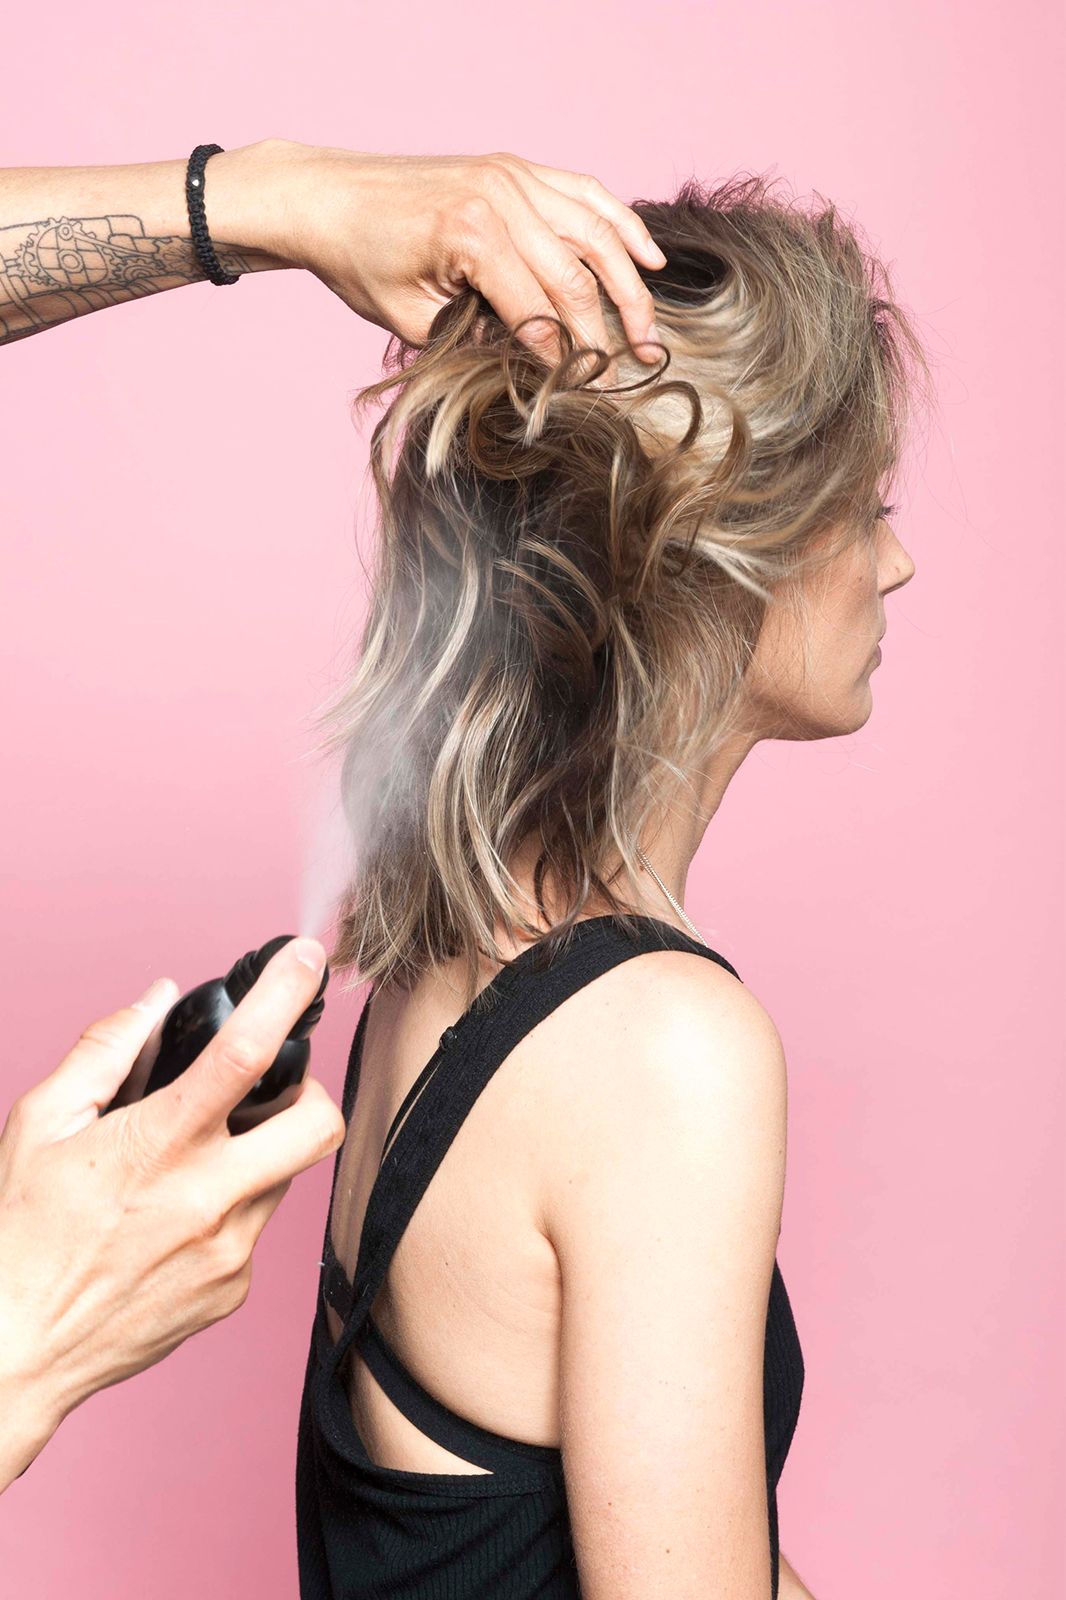
Grab a 1.5-inch curling iron, like the Hot Tools Big Bumper Curling Iron. (You can also use a wand, like John Frieda's Wavy Curls Iron, which Tran notes is easier for beginners to maneuver.) The goal is to create loose ringlets, without curling the roots or the ends of the hair. To do so, divide your locks into 1-inch sections and curl your hair in alternating directions without clamping down on the ends. (If you're using a wand, simply wrap your hair around the iron and hold the ends with your fingers.)

Continue to curl 1-inch sections all over your head, allowing the strands to cool without disrupting them. Again, be sure that the ends of your hair are not touched by the heat, which will make the look far too polished. (Notice Tran has left the tips of Alaina 's hair out of his iron's clamp.)
Allow all your curls to cool fully before moving onto the next step.

Grab a can of texturizing spray or dry shampoo — Tran prefers Oribe's Dry Texture Spray — and blast the roots of your hair, holding the spray 12 inches away from your head. Go section by section, and slowly layer the spray into your locks, avoiding the ends.
If your hair is processed, dry, or naturally curly, you'll benefit from a texture spray with a touch of nourishing oil instead, like Oribe's Apres Beach Spray. Simply swap it in and follow the steps above.

Next, shake out the curls! Using your hands, go in and gently massage your roots and scrunch the length of hair, to muss the curl patterns and make them look effortless.

Warm a dime-sized amount of styling cream — Tran swears by Leonor Greyl's Eclat Naturel — between your palms like you would a hand cream, then finger comb your hair back into place. (This technique thins out the product perfectly.) Smooth the ends with any leftover product to keep them frizz-free and smooth.
Hair that is naturally curly can also benefit from a heavy misting of anti-humidity hairspray, like Garnier Fructis Style Anti-Humidity Hairspray.

And, you're done! But, don't you dare wash your hair tomorrow! Try our next style instead...
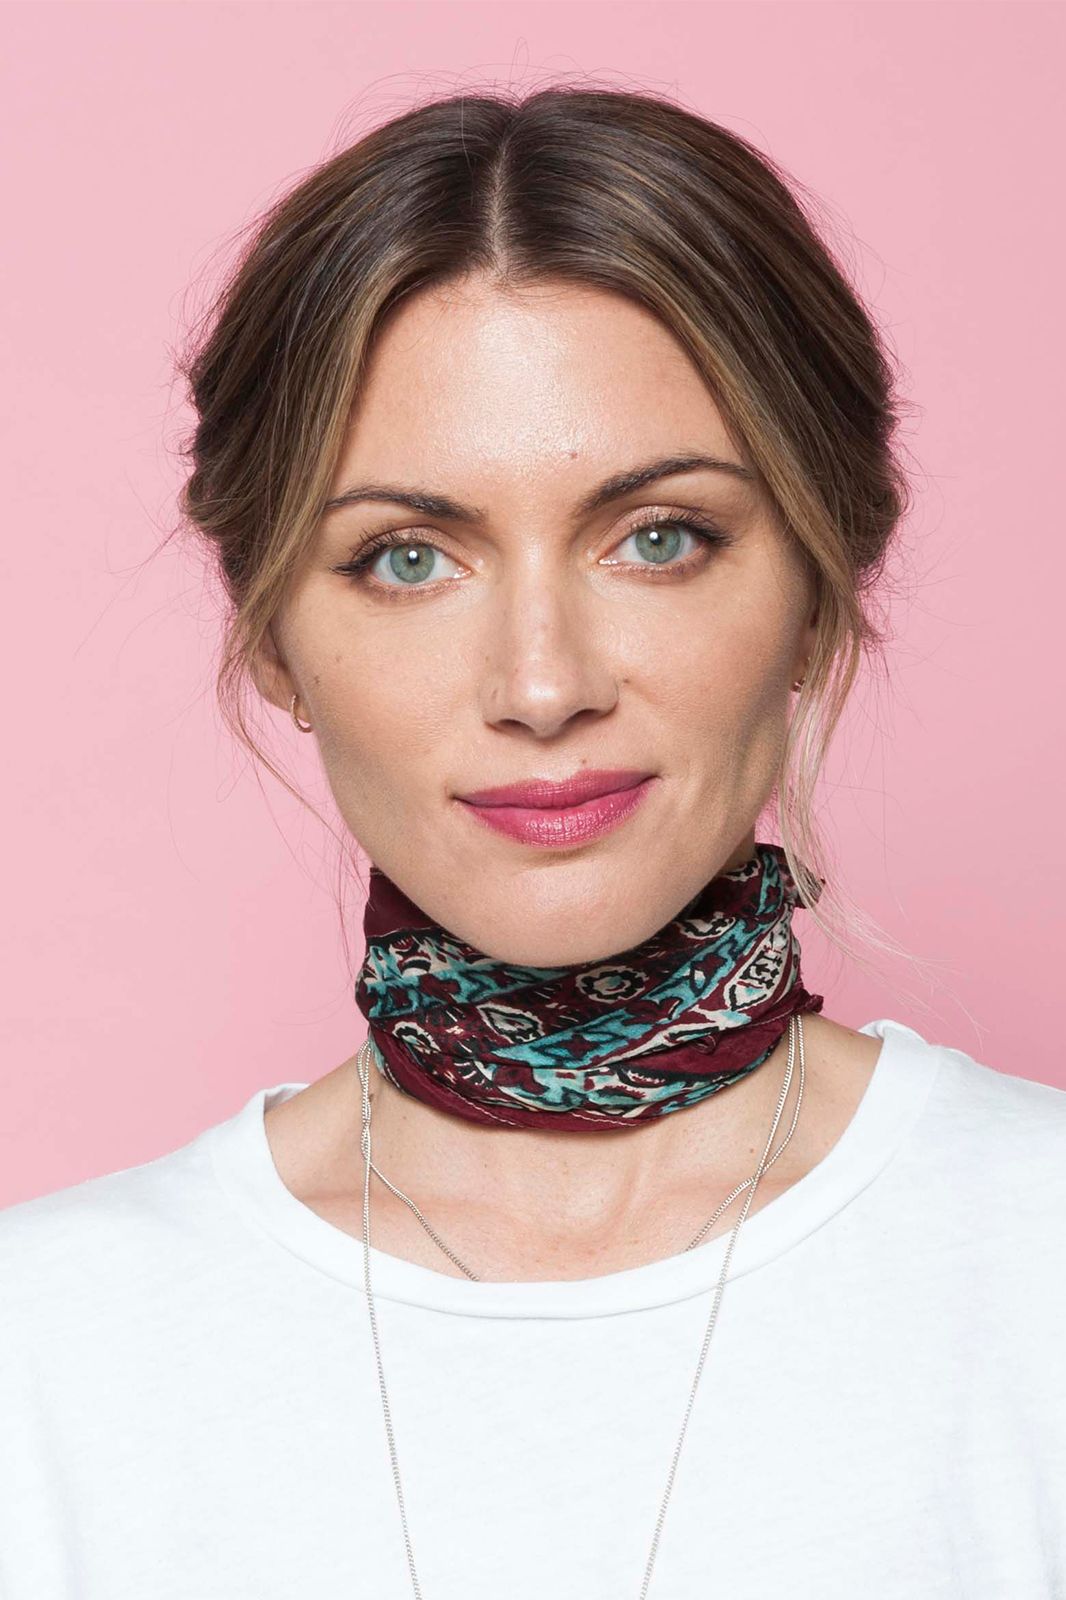
Alaina is wearing M.A.C. Lipstick in Ruby Woo.

Day 2: The ‘90s Swoop
You can create a rad deep side parting and smooth braid on Day Two hair. Or, if you're working on clean hair, simply start with our Day One routine, then move on to this style. If your hair got limp or frizzy overnight, just mist it with water and spot treat with a brush and blowdryer.
To begin, lift random sections of your hair and mist with your dry texture spray from slide 3. This soaks up oil and adds fullness and texture.
For even more volume, simply follow this tip from Tran: Massage your roots with a Tangle Teezer comb before and after adding product to build body.

Create a deep side part, then braid a 2-inch section on the part side into a small, tight braid. You can adjust the size of this braid depending on the thickness of your hair. It will look slightly different for everyone.

Use a fine-tooth comb to tease the ends of your braid. This will hold the plait in place without an elastic.

Use two bobby pins to secure your hair by adding one over the end of the braid, then adding a second over the first pin to make an X shape. If you have fine hair, simply mist your bobby pins with hairspray for a firmer hold.

Now, wasn't that easy?! But, you're not done yet. Your Day Three hair how-to is next!
Alaina is wearing M.A.C. Lipstick in Diva.

Day 3: Twisted Knots
Dirty, greasy, or just plain limp hair can be easily twisted into cool mini-buns that work as well on a Sunday afternoon as they do a with a black-tie dress. Of course, you can do this on clean hair, too, just build your base using the steps from Day One.

To begin, brush your hair with a boar or nylon brush to distribute any hair oils and leftover product through the hair. Tran uses Mason Pearson's Handy Mixture Brush, or try Sonia Kashuk's Hair Brush for a similar finish.

Next, back brush your hair to give the strands more grip. Use a light touch and work slowly to avoid knots and snarls.

Finger comb any tangles away, then blast your hair with more dry texture spray or dry shampoo for added volume and grip.

Section your hair into four parts: two in the back and two in the front. Don't worry about the parts being perfect, you won't see them at the end. Twist your first section into a small bun an inch or two above the nape of your neck, stopping to drive a bobby pin into the bun after every rotation. Once you finish, add more pins to lock your bun in place.
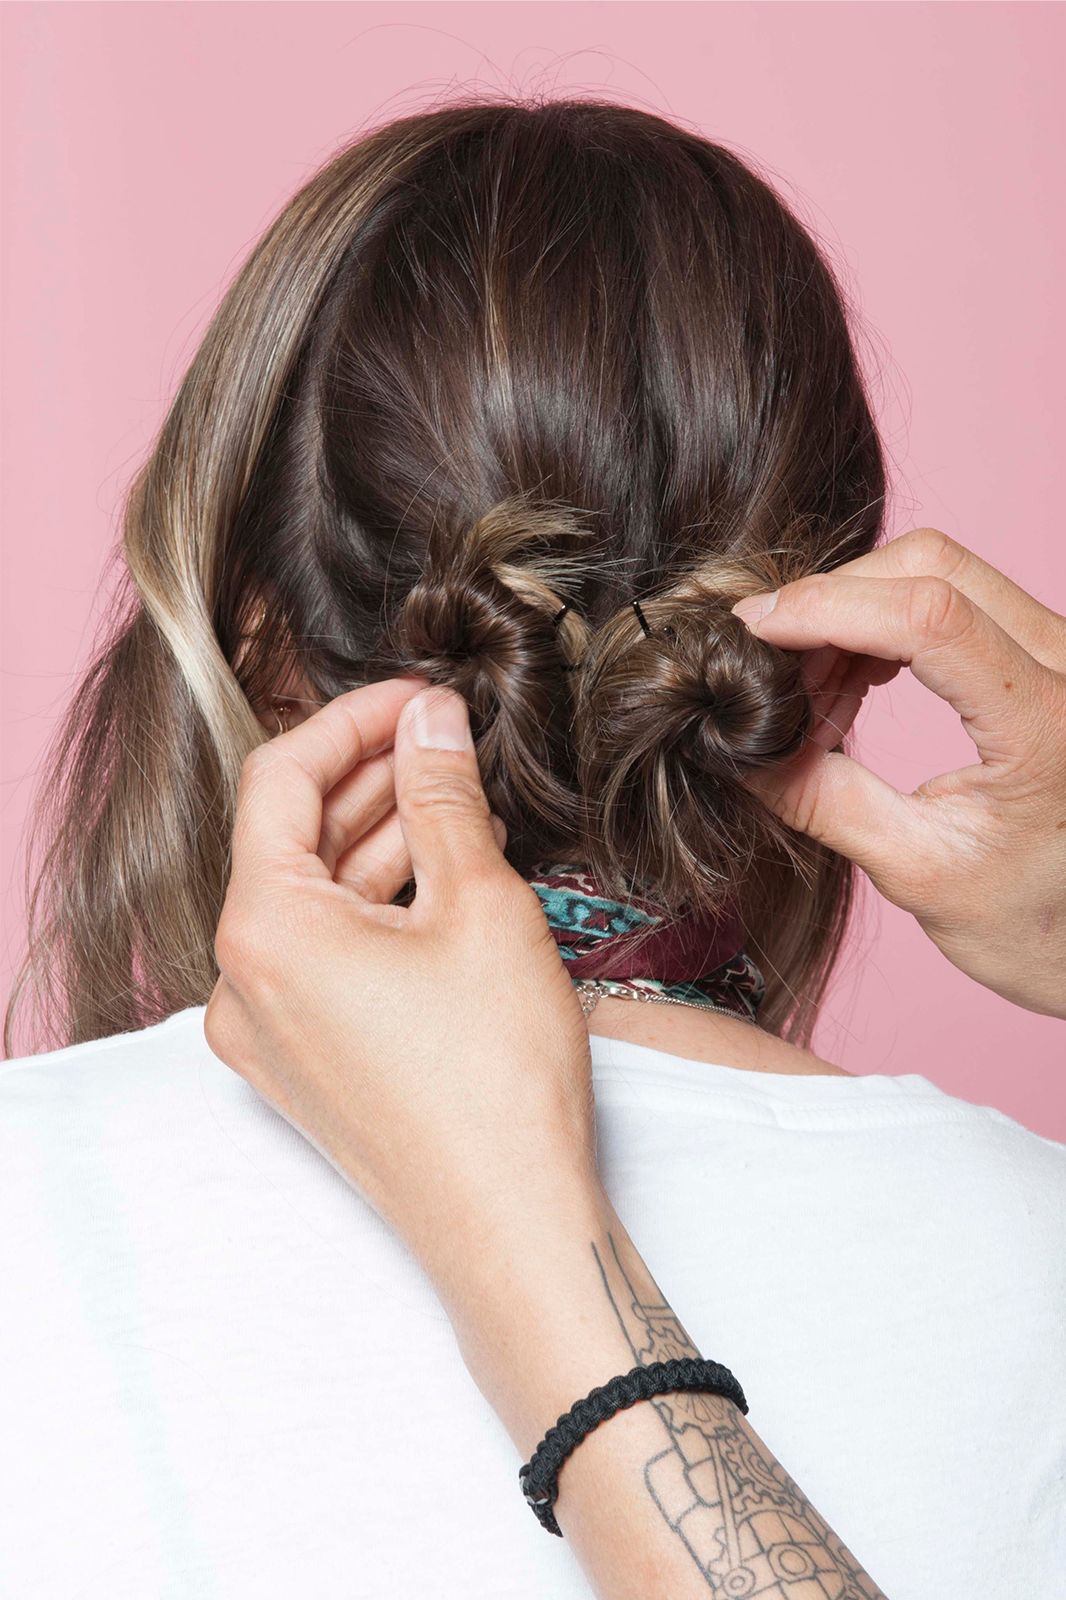
Repeat on the next section, creating a bun right next to the first one.

Now, on to the front. Lightly twist the first front section backward, hold it halfway between your ear and the first bun, and pin in place. Pinning before twisting allows you to keep the front loose and relaxed, and the bun snug and in place.

Now, twist your hair into a bun, pinning as you go for a secure finish.

It's okay if your bun is messy — it shouldn't look perfect!

Repeat on the other side...
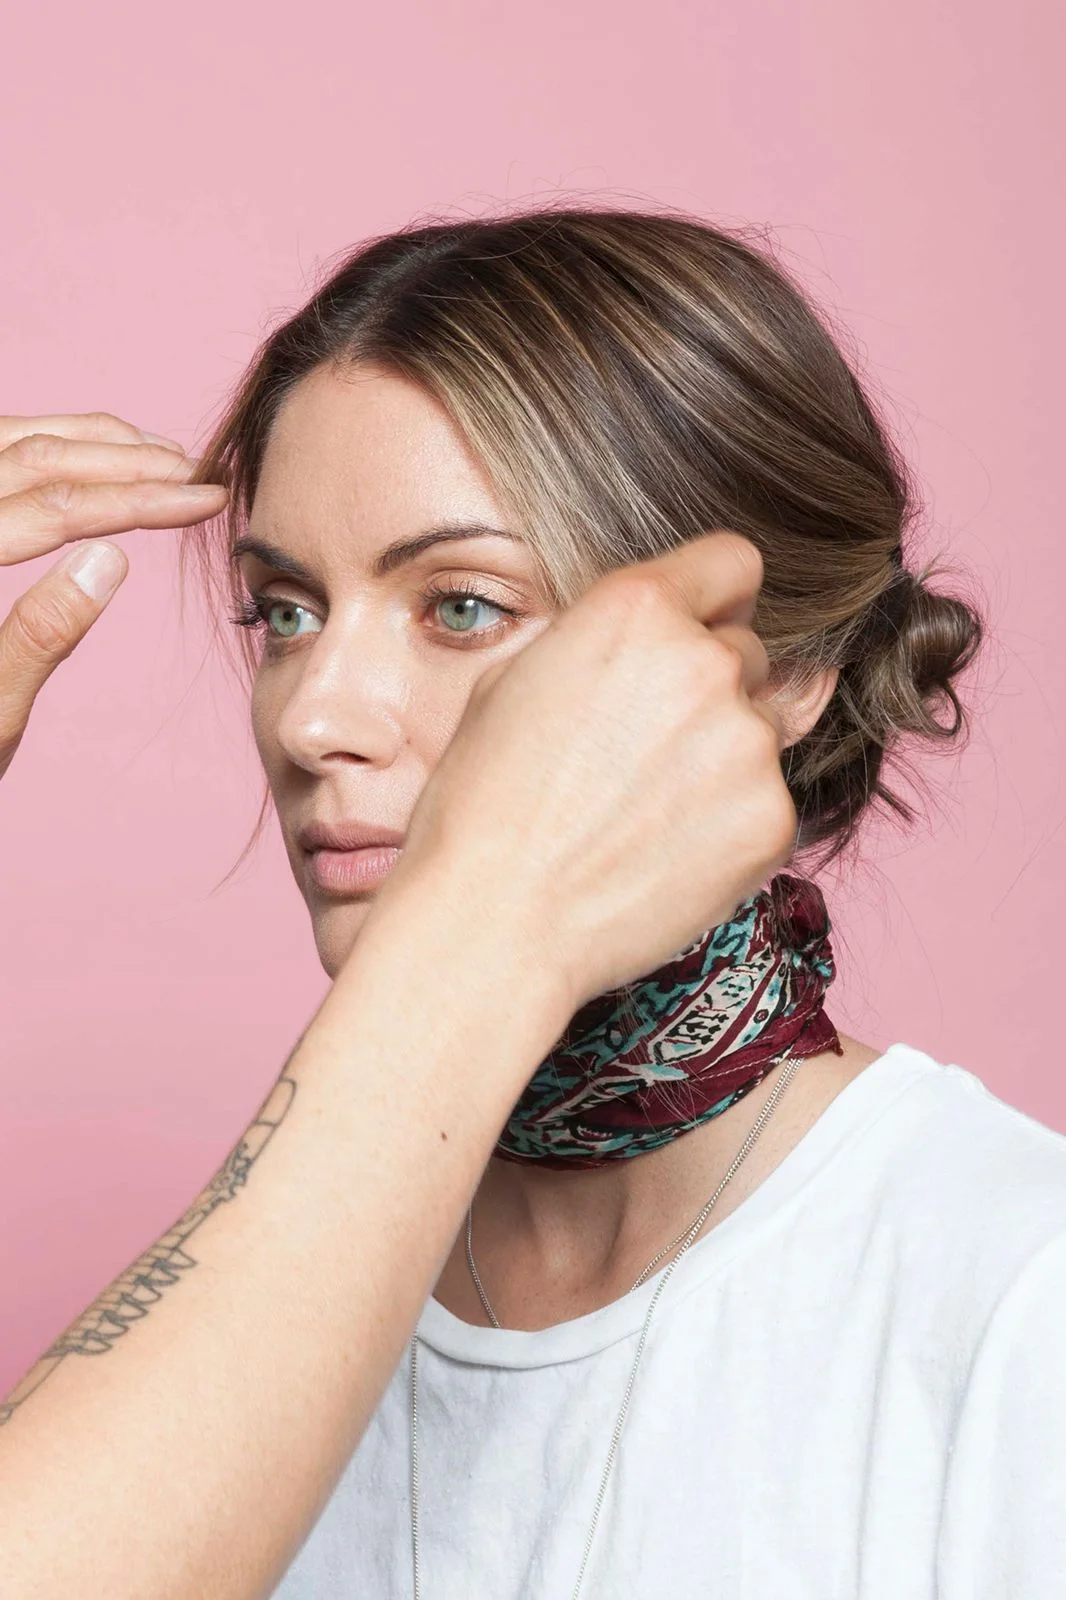
Pull out any short layers in the front to frame your face.

And, you're done! Here is the view of your chic mini-buns from the back...
..and the front!
Alaina is wearing M.A.C. Lipstick in Diva patted on with her finger for a light, stained finish. And, in case you were wondering, Anja Burton at the Ramirez/Tran salon is the stylist behind Alaina's hair color.